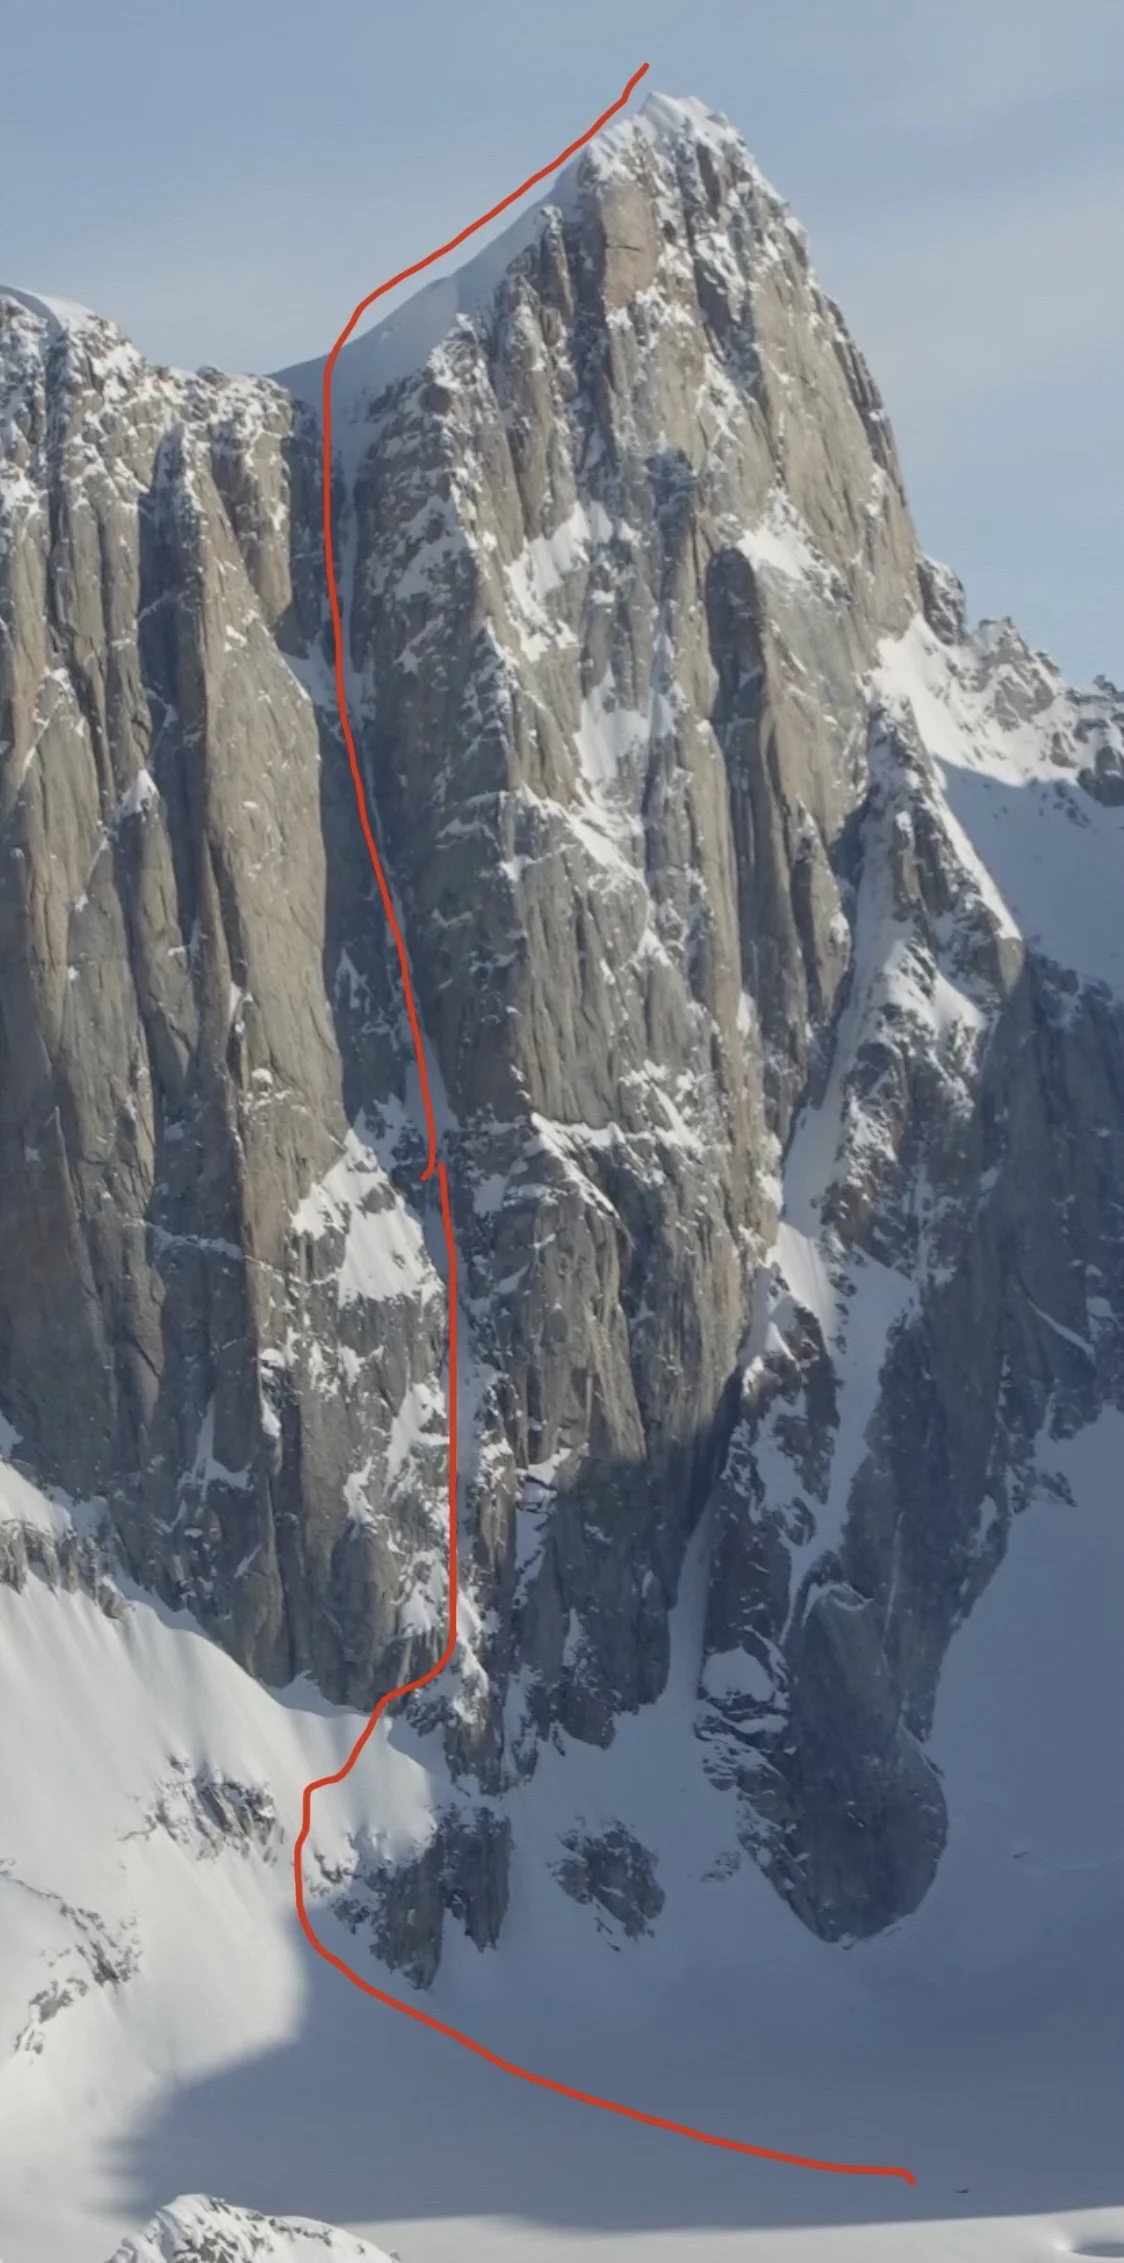
Moose’s Tooth via Ham & Eggs Couloir
Alaska Grade 3+, WI4, 5.6, 3,000ft.
Solo on April 14, 2022
Ascent time: 3.5 hours, Descent time: 2.5 hours
This route is one of the ultra classics of the Central Alaska Range and known by many around the world. It is attempted by several parties each spring, unsurprisingly as its a nearly straight shot to the summit of this striking mountain. The route follows an obvious weakness of ice and snow between difficult granite faces. I’d never been to the Moose’s Tooth but have flown by many times. It is the first real mountain I can remember seeing when I first visited Alaska with my mother in the autumn of 2016. With the forecast looking promising I decided to fly in to the Root Canal Glacier with Talkeetna Air Taxi despite word the route was not in yet. It turned out to be an ace move! I stood alone on the true summit on April 14, 2022.
Nature of route: steep snow, alpine ice, granite rock, existing anchors.
Temperatures between 5F and 25F
Wind chill minimal
Strong solar radiation
Dry conditions
Remote glaciated wilderness
Kit Synopsis
For this climb I decided to go pretty light since I was alone. I knew I would move fast and a good time up and down would minimize the objectives hazards of the route (avalanches or rockfall). The weight of my backpack was mostly in rope carried for the rappels to get down but I did bring a few extra pairs of gloves- I can’t stand wet cold hands! Two teams of two summitted the day before me so rappel anchors were good to go, knowing this I left behind all my rock gear. I brought one picket which I used to add some safety to my downclimb off the snow/ice left of the summit boulder. I only carried 1 liter of water which was loaded with two packets of ACLI-MATE.
Gear I did not bring on the route:
Puffy Pants
Stove with small fuel
Bivi kit (pad, sleeping bag, shelter)
Cams, Nuts, Pins

A proper summit picture! About 10:30AM.
Clothing by Mountain Hardwear


Layering: AirMesh Long Sleeve Crew, Stratus Range Full Zip Hoody, Kor AirShell Warm Jacket
Base Layer: Men's AirMesh™ Long Sleeve Crew
Light Puffy: Men's Kor AirShell™ Warm Jacket
Light Hardshell: Men's Quasar Lite™ Gore Tex Active Jacket
Down Parka: Men's Nilas™ Jacket
Softshell Pants: Men's Chockstone™ Alpine Pant
Not pictured: Long Underwear, Wool Socks.
Clothing Overview: I wore the base layer and fleece the entire outing but only added my light puffy on the summit and wore it until I was just an hour from reaching the ground again. Initially I expected I’d be wearing that and a hardshell most of the day but favorable temps and a good pace meant I was warmed up early on. I think the AirMesh Long Sleeve Crew is the most impressive base layer I’ve owned. It weighs seemingly nothing and is soft on the skin. I am 5’10” 170lbs and a size medium fits me perfectly and allows for a wide range of motion. With the fleece on, this combo provided all the warmth I needed for moving continuously. The Stratus Range Hoody fits nicely over a climbing helmet and is stretchy enough to move your head in any direction you normally might.
In basecamp, I wore the Nilas Jacket in the evenings and mornings. Wow! What a piece! The jacket just feels high end when you put your hands on it and provides ample warmth in a historically frigid Alaska Range. I appreciate that this jacket is not made of only ultralight materials. The face fabric and zippers both feel stronger than most. I previously wore a 2016 model Nilas (which I loved!) and feel that the current model is a step up in performance and packability. I am confident I can deal with major storms in this piece due to its durable build.
The other two jackets I carried are the Kor AirShell Warm Jacket and the Quasar Lite Gore Tex Active Jacket. These pieces represent similar principles in my opinion: Lightweight, packable, and quick drying. While I didn’t end up needing my hardshell on the climb, the lightweight build of the Quasar Lite (only 8.6 ounces!) made it entirely appropriate to carry in my pack throughout the day. The Kor Airshell Warm Jacket is a hardwearing go-to piece that will remain in my kit for the foreseeable future. I prefer a synthetic puffy of this nature as it can handle being wet, will dry quickly, and can be moved around without worry of damaging it. I highly recommend this piece for any outdoor pursuit.
Gloves + Pack by Mountain Hardwear

Primary Climbing Glove: Rotor™ Gore-Tex Infinium™ Glove Unisex
Secondary Climbing Glove: Route Setter™ Alpine Work Glove Unisex
Warmer Gloves if needed: Exposure™ Light Gore-Tex® Glove Unisex + Exposure/2™ Gore-Tex® Glove Unisex
Climbing Pack: Alpine Light™ 28 Backpack
I decided to carry four pairs of gloves all of different levels of warmth. In hindsight I certainly could have left behind the warmest pair but they don’t weigh much so I was happy to have them anyway. The two pairs I wore were the Rotor Glove (I wore this from bergshrund to summit) and the Route Setter (put them on at the summit and wore them most of the way down). Both of these gloves are incredibly impressive in the mountains. The Rotor is your go-to thin techy glove that can handle any grade of pitch you find yourself on. Highly dexterous, comfortable, and providing just enough warmth to be a great piece when leading in cold temperatures. The Route Setter is the workhorse glove for any mountain activity. Ripping down 60m rappels on really skinny ropes, the gloves hold up well against the friction with added leather on the palm. They offer a great middle ground of warmth to dexterity. My favorite part of this pair of gloves is how easy they go on and off with the shorter stretchy cuff. Highly recommend both of these pairs.
I finally got my hands on the Alpine Light 28 Backpack. This is a well-rounded mountain pack. It is light, fits comfortably, and easy to open and close with the pull of a cord. I carried two 60m ropes as well as all my extra equipment in this pack all day and barely noticed it. It can carry a decent amount of weight without sacrificing comfort for the user. When the ropes came out, I was happy with how the pack tightens down to a smaller size. Another notable perk of this pack is the low-bulk hip belt which is just a piece of webbing.
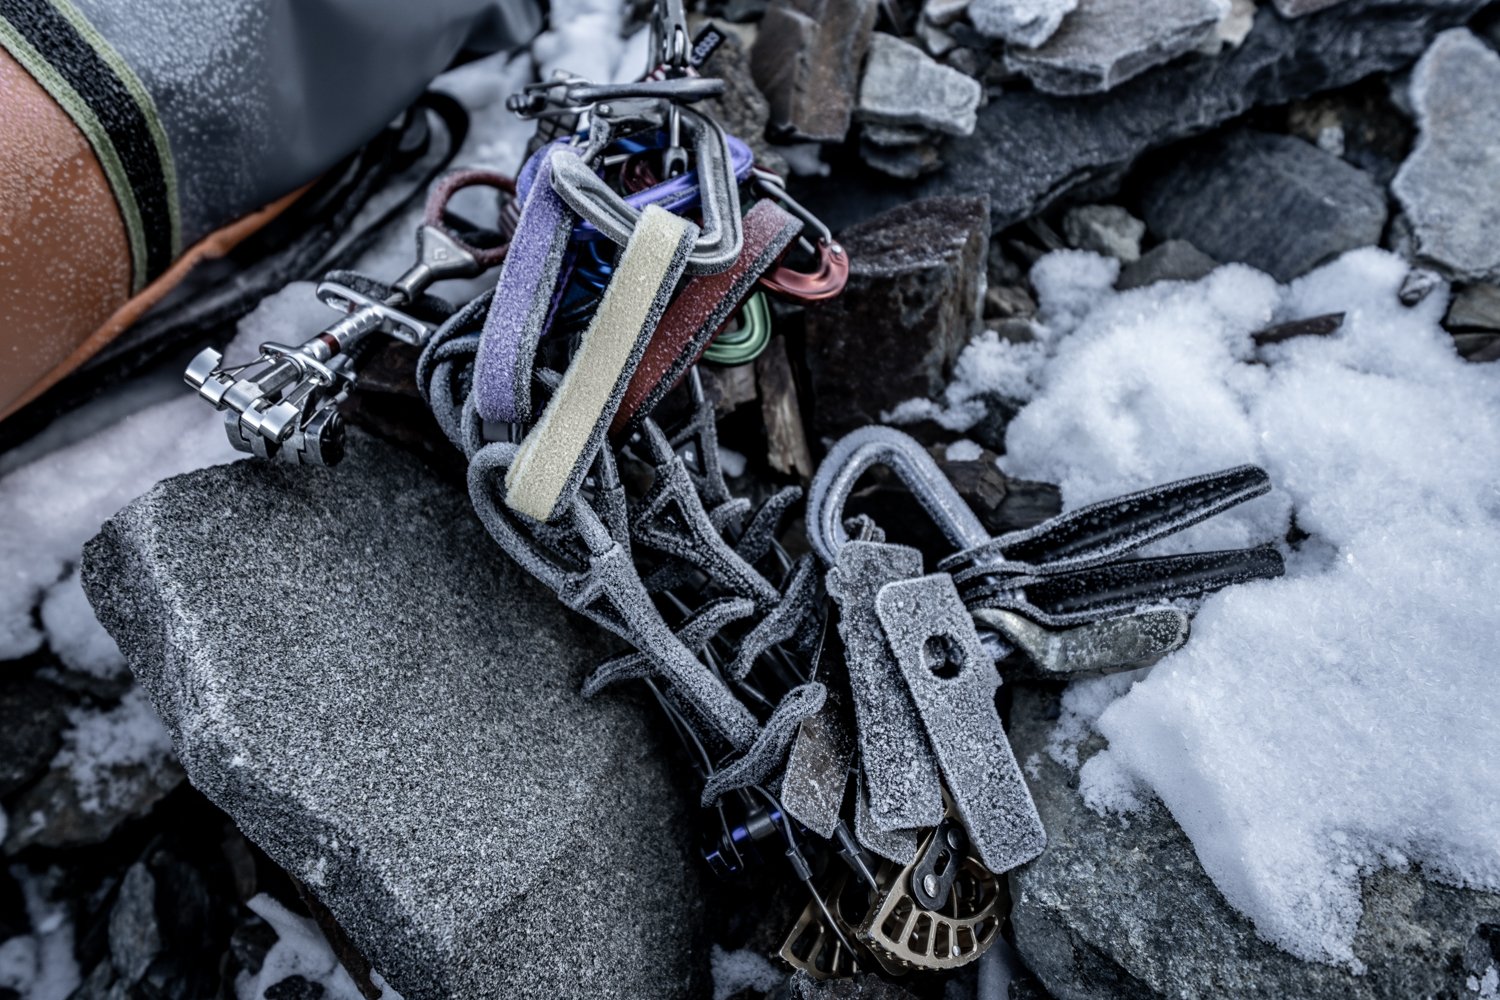
Route Hardware


Left: Multihook keeper cord. Right: Taped up helmet vents to keep wind/spindrift out.
Ropes: 65m Tagline 6.5mm, 60m Twin 7.1mm
Crampons: Petzl Darts w/ offset front points
Ice Tools: Cassin X Dreams w/ Alpine Hammers
Helmet: Petzl Sirocco
Harness: Petzl Sitta w/ Caritool Ice Clippers
Boots: La Sportiva G2 Evo
Leashes: Petzl V Link w/ Ange S Carabiner
Belay Device: Black Diamond Alpine Guide ATC
Locking Carabiners: Petzl SM’D & Petzl Spirit
Two Alpine Draws: Petzl Pur’Anneau 60cm w/ Ange S Carabiners
Double Length Sling: Petzl Pur’Anneau 120cm w/ Camp Nano 22
V threader: Petzl Multihook w/ keeper cord + extra 60cm sling on Camp Nano 22
Three Ice Screws: Petzl Laser Speed Light 13cm, 17cm, 21cm
15 feet of cord
Hearing information about the route from the folks who climbed it the day before, the hardware kit lightened. Leaving behind rock gear, the assortment looked more along the lines of a day out soloing at ice crags in the winter. The difference being leashes and an extra screw. The ice quality was variable with a lot of airy and rotten ice- I was happy to have the offset front points on my crampons and not on mono points. Carrying two ropes (about 8 pounds in this case) was not as bad as I thought it would be and it made the descent quick. In the future I would bring either an 80m tagline (recommended by someone) or a pair of 50-60m taglines, I think this could be down to 5-6 pounds with some different ropes. The Alpine Guide ATC is great on the skinny ropes, providing ample friction compared to a standard size. The temperatures were pleasant and I think on the right day single boots would be really nice for this climb, but I had comfortably warm feet in the doubles. On the Multihook V Thread tool, I have a keeper cord so it can be attached to an anchor or my harness and avoid the risk of being dropped. I started doing this a few years ago after my threader slid down glacial ice and out of reach while working on the Spencer Glacier. Now it has become second nature to have the cord, losing your threader high up in the mountains would be an unnecessary bummer! Not pictured is a lightweight picket I carried on my pack (8 ounces).
Accessory Kit


Garmin 66i inReach w/ Insulated sleeve
Petzl Swift RL Headlamp w/ extra battery + bag
1 Liter Nalgene w/ insulated sleeve + Acli-Mate energy drink mix.
(2) RX Nut Butter
(2) Clif Energy Bloks
Smith Guide’s Choice Sunglasses (Primary)
Smith Pathway Sunglasses (Backup in basecamp)
(2) Clif Mini Bars
1 Pack of almonds
Dermatone SPF 30 Sunscreen Stick
Extras: Front bar replacement for Dart Crampons, Allen Wrench for X Dreams, Chapstick.
The extra bits and pieces of my kit. I went with low-bulk snacks that I like at any time of day. I find the Clif Bloks to be an invaluable asset on any trip. I decided to carry just one liter of water and no stove. I added two packs of Acli-Mate energy mix to the water before leaving camp so it had some real fuel in it. I only ate a couple snacks and returned with plenty extra.
I carried an inReach for obvious reasons and a powerful headlamp with an extra battery. I had no intentions of using either but they are always worth it to have with you. I decided to carry an extra front bail for my crampons, for some reason I’m really paranoid that I’m going to break one! For the last year or so I’ve been wearing Smith sunglasses. I find them to fit my face better than other frames and can comfortably wear them throughout a whole day without being irritated. And they look really cool. :)
Key New Additions to Basecamp Kit
Mountain Hardwear Phantom™ 0F/-18C Down Sleeping Bag: This was a very welcomed piece of kit! In my opinion the bag has a few distinct features that make it stand out:
Footbox is not too narrow while still being a mummy shaped bag. I have big feet and many sleeping bags get very narrow towards the bottom and it makes for a less comfortable sleep for me. In this bag a big pair of feet fit comfortably. I was even able to have boot liners in the bottom at the same time.
Reinforced fabric along zipper + Snag-free Zipper: The build of this sleeping bag has a more robust zipper that protects itself from snagging the sleeping bag fabrics. It also has a thicker fabric sewed along the baffle that typically gets caught in the zipper. I found this to be really impressive and something I haven’t experienced in a sleeping bag before.
Temperature rating true as marketed: This bag is actually rated to 0 degrees.
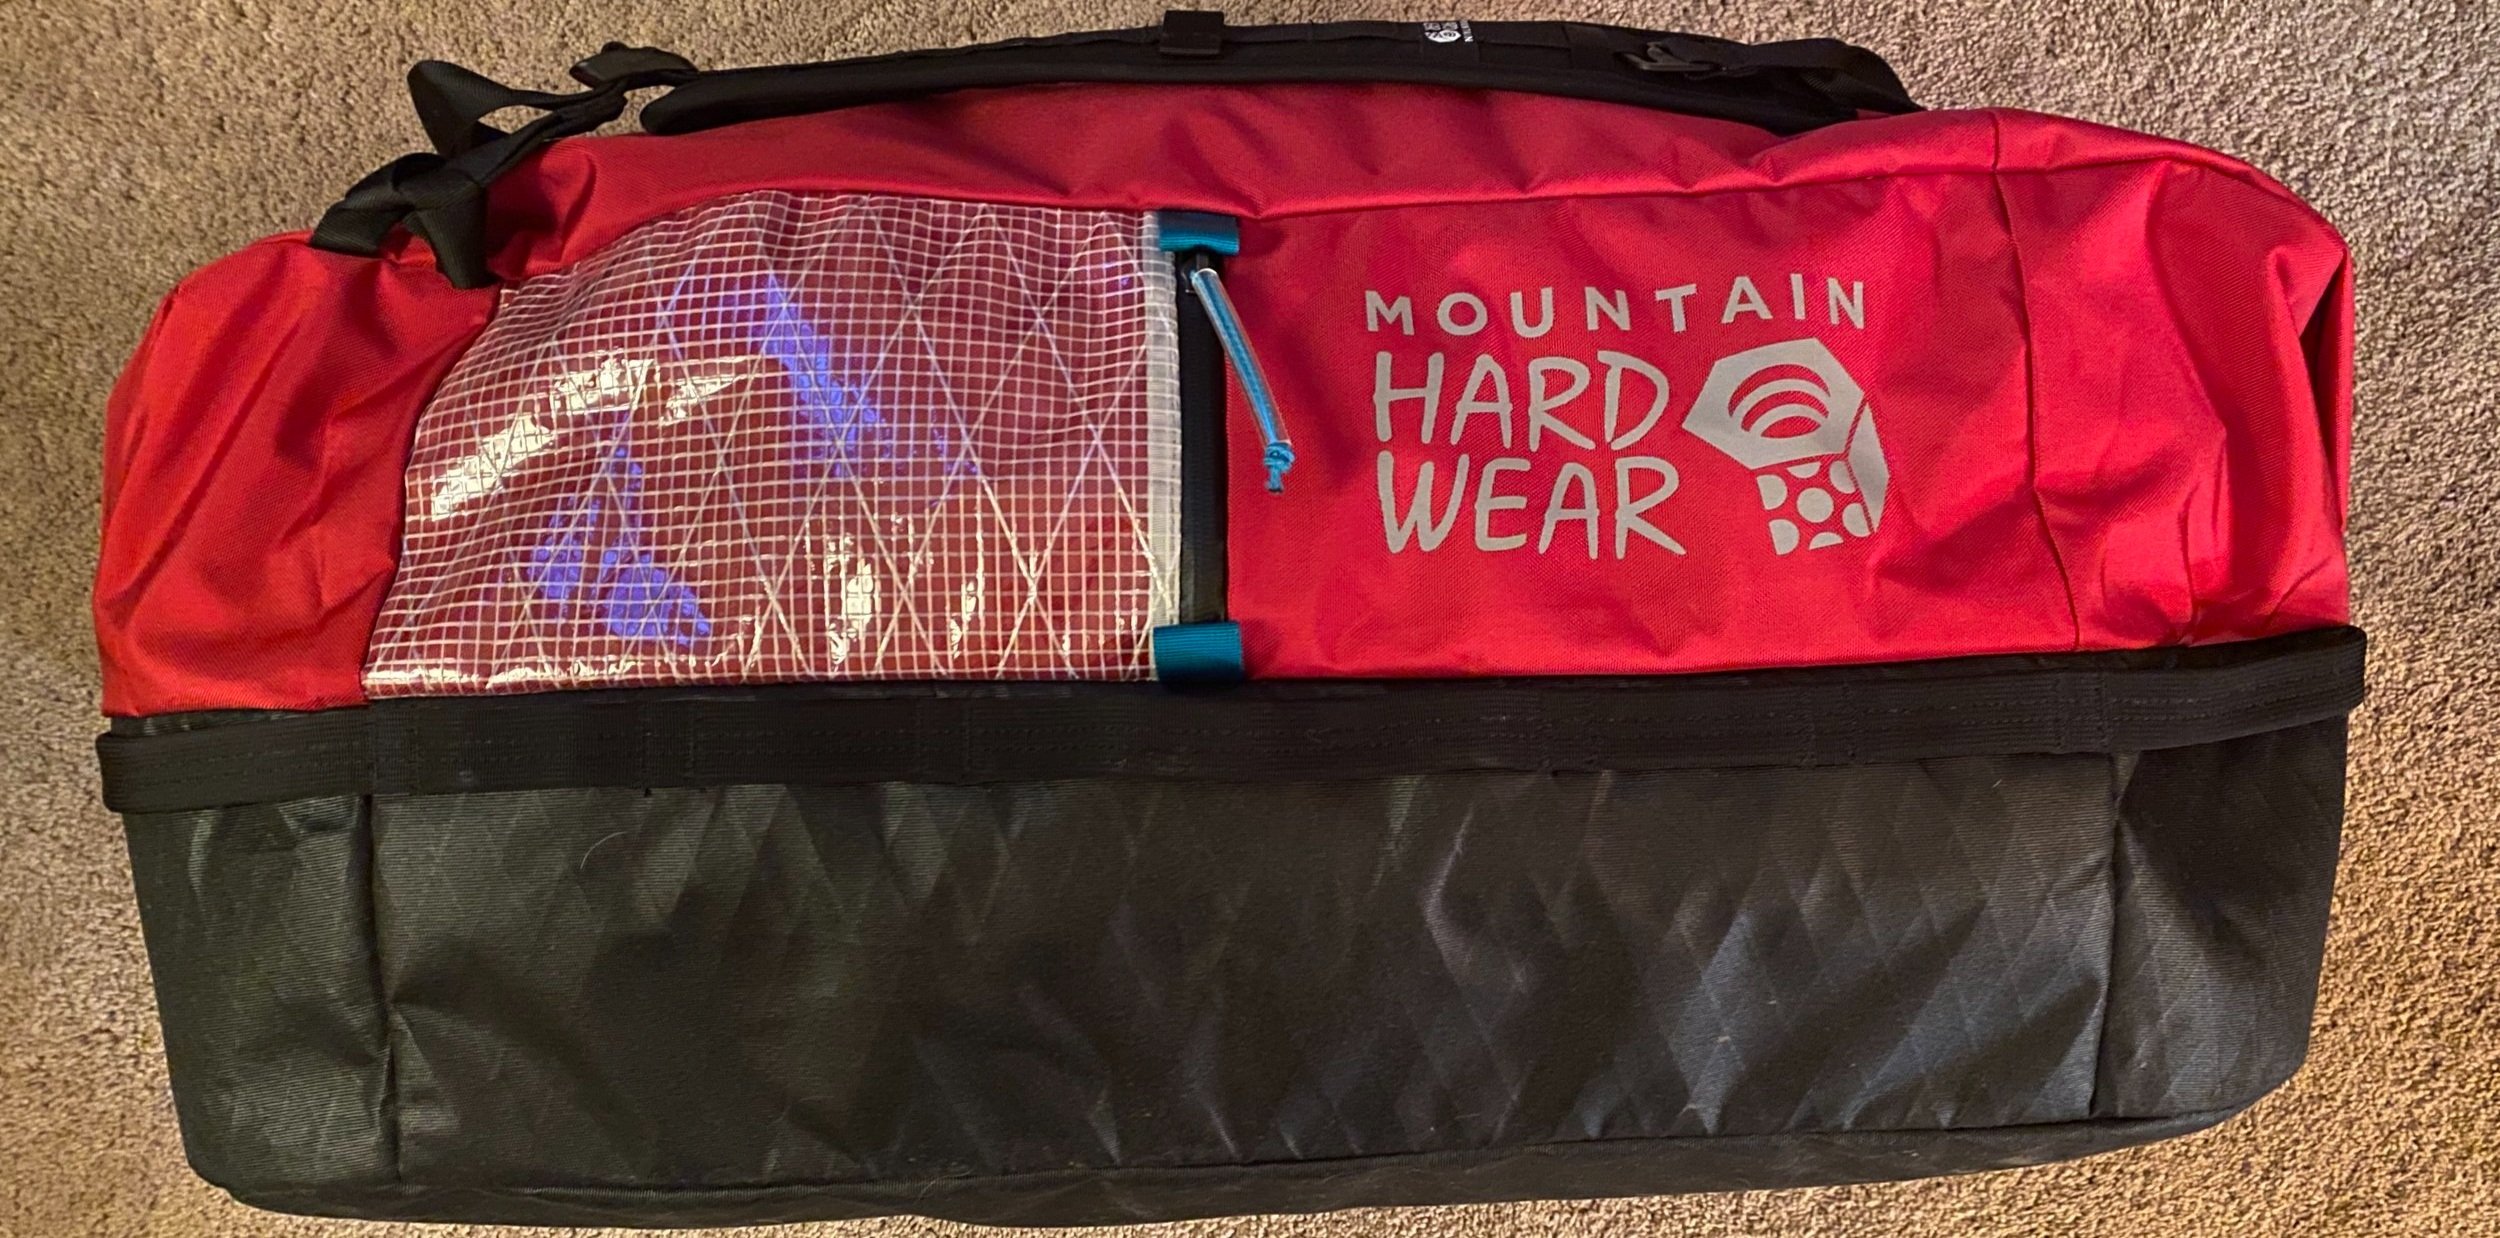
Mountain Hardwear Expedition™ Duffel 100: Many a duffel has come and gone from my expedition kit… Too small, broken zipper, hard to transport, not durable enough, doesn’t open wide enough: these are the many complaints my partners and I have had over the year. For this trip I added the Expedition 100 and was impressed from the start:
Rugged durable materials appear to open the door for long lasting use.
Robust, comfortable shoulder straps make carrying on your back an easier task.
Grab Handles around the outside make for ease of moving the duffel in and out of different spaces and allow for it to be strapped quickly to a porter or mule as needed.
Straps at each end of the zipper pull the bag tight around the load. When released, the zipper elongates allowing it to open wider than most duffels. The zipper is also safely hidden away under a flap when these straps are tightened.
Zipper comes with added pull-cord for easy gripping with gloves on.

Left: Phantom 0 snag-free zipper. Right: Expedition 100 closed up.

See Also: Moose’s Tooth Solo Story on the Stories Page.